Happy Weekend Peoples! I'm still trying to get back into the groove of things after CHA. It is amazing how life continues to move on without "mom" when she takes a day or so away, but how quickly she is expected to get back into the groove of reality!!
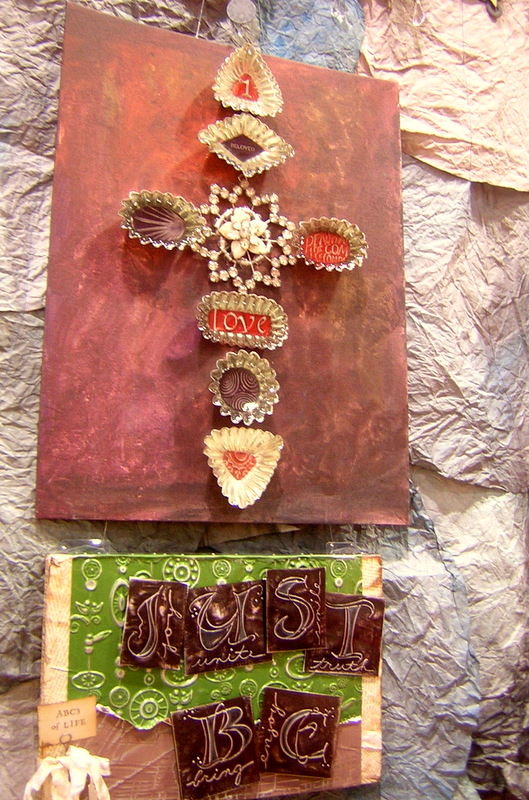
Played around some yesterday and this morning with one of the new molds that were just released from TenSecond Studios. I also tried my first attempt at writing on metal.
Let's just say, that I cannot write in a straight line to save my life. Kiss me a gonner if I'm ever asked to do so!!
I also learned a few important things on this project.
1) Always make sure that the surface you are working with the metal on is fairly smooth. In other words, don't be lazy and use your dinged up glass table top instead of your acrylic mat. The table top dings may add extra "texture" to your piece.
Or maybe that is just "home made" character!
2) When one pieces the Humungo Sticky tape only the back of the metal, one should NEVER then try to smooth out the metal. The Tape will act as a cushion, giving a edge that is not wanted, right down the middle of your image.
3) One should also make sure that all the bumps and such are removed from the metal BEFORE one adheres it to the front of a card. The camera doesn't lie.
And after all that jibber jabber, here is the piece.

Played around some yesterday and this morning with one of the new molds that were just released from TenSecond Studios. I also tried my first attempt at writing on metal.
Let's just say, that I cannot write in a straight line to save my life. Kiss me a gonner if I'm ever asked to do so!!
I also learned a few important things on this project.
1) Always make sure that the surface you are working with the metal on is fairly smooth. In other words, don't be lazy and use your dinged up glass table top instead of your acrylic mat. The table top dings may add extra "texture" to your piece.
Or maybe that is just "home made" character!
2) When one pieces the Humungo Sticky tape only the back of the metal, one should NEVER then try to smooth out the metal. The Tape will act as a cushion, giving a edge that is not wanted, right down the middle of your image.
3) One should also make sure that all the bumps and such are removed from the metal BEFORE one adheres it to the front of a card. The camera doesn't lie.
And after all that jibber jabber, here is the piece.

The base is a 5 1/2" square piece of SU's Chocolate Chip. Very Vanilla is the next layer with the edges rounded. The metal is Dark Chocolate that was traced from a decorative chip board piece that I had originally thought to cover with the metal for another project. I used the new Kabuka mold for the flower. I used one of my decorative wheels for my border and flattened the inside to make a frame. After sanding all the raised edges, I filled in the flat areas of the flower with Glossy Accents and sprinkled with Doodle Bug glitter.
To be perfectly honest, all the bumps and grooves rather annoy me. I'm thinking this one may get filed in Folder 13.
I'm now off to clean up the mess from this so that the youngest kiddo and I can start his California History project. It would seem there is NO room on this desk for the kid to work.
Thanks for dropping by again today!! I've got the other side of this mold staring at me as I type and the wheels are turning.....'Till then..........................remember that exploring something new might not render the results you were hoping for, but there is always a lesson to be learned from it!